How do you fix a garage WiFi dead zone in Auckland?
Run Cat6a from your house router to a wall-mounted access point in the garage. WiFi over a single house router rarely reaches a detached garage cleanly. Tom's Ranui rescue went from no usable signal to 489 Mbps via one Cat6a backhaul + one Ubiquiti AP. Same fix works for sleep-outs, granny flats, and corner offices. Install around $480-$680 depending on cable run length.
Tom lives in a converted garage at the back of a Ranui section. The fibre modem is in the main house, almost the entire length of the property away. By the time the WiFi signal made it to his desk, it was unusable for gaming and barely fast enough for a Zoom call. He’d tried mesh extenders. He’d tried moving the router. Nothing worked. We ran one cable. He gets 489 Mbps down / 460 Mbps up on his desktop now.
The problem: detached garage, fibre at the wrong end of the section
Tom’s setup is one we see a lot in West Auckland. The main house has fibre. The garage at the back of the section has been converted into a usable living space — bedroom, desk, gaming setup, the works. Everything else is sorted. The internet isn’t.
From the modem in the main house to Tom’s desk in the garage is well past the range any consumer-grade WiFi router can comfortably handle. The signal had to push through:
· The exterior wall of the main house
· A long stretch of open section
· The exterior wall of the garage
· Then bounce around inside the garage to reach his desk
By the time it arrived, anything bandwidth-heavy — gaming, video calls, big downloads — was either dropping out or running at speeds that defeated the point of having fibre at all.
Tom had already done what most people do in this situation: bought a mesh system, repositioned the router, tried a powerline adapter. None of those work well across two separate buildings with metres of open ground between them. The only thing that reliably solves a detached-building WiFi problem is a physical cable run.
The diagnosis: one Cat6A run, one jackpoint, one access point
On the site visit we walked the section, mapped the cleanest cable path under the main house and across to the garage, and quoted the job in writing within 24 hours. The fix was straightforward:
· Cat6A from the main house comms point to Tom’s garage. We chose Cat6A over Cat6 because the run length pushes against where Cat6 starts to lose its margin — Cat6A holds full Gigabit-plus speed reliably even on long runs and through electrical-noise zones.
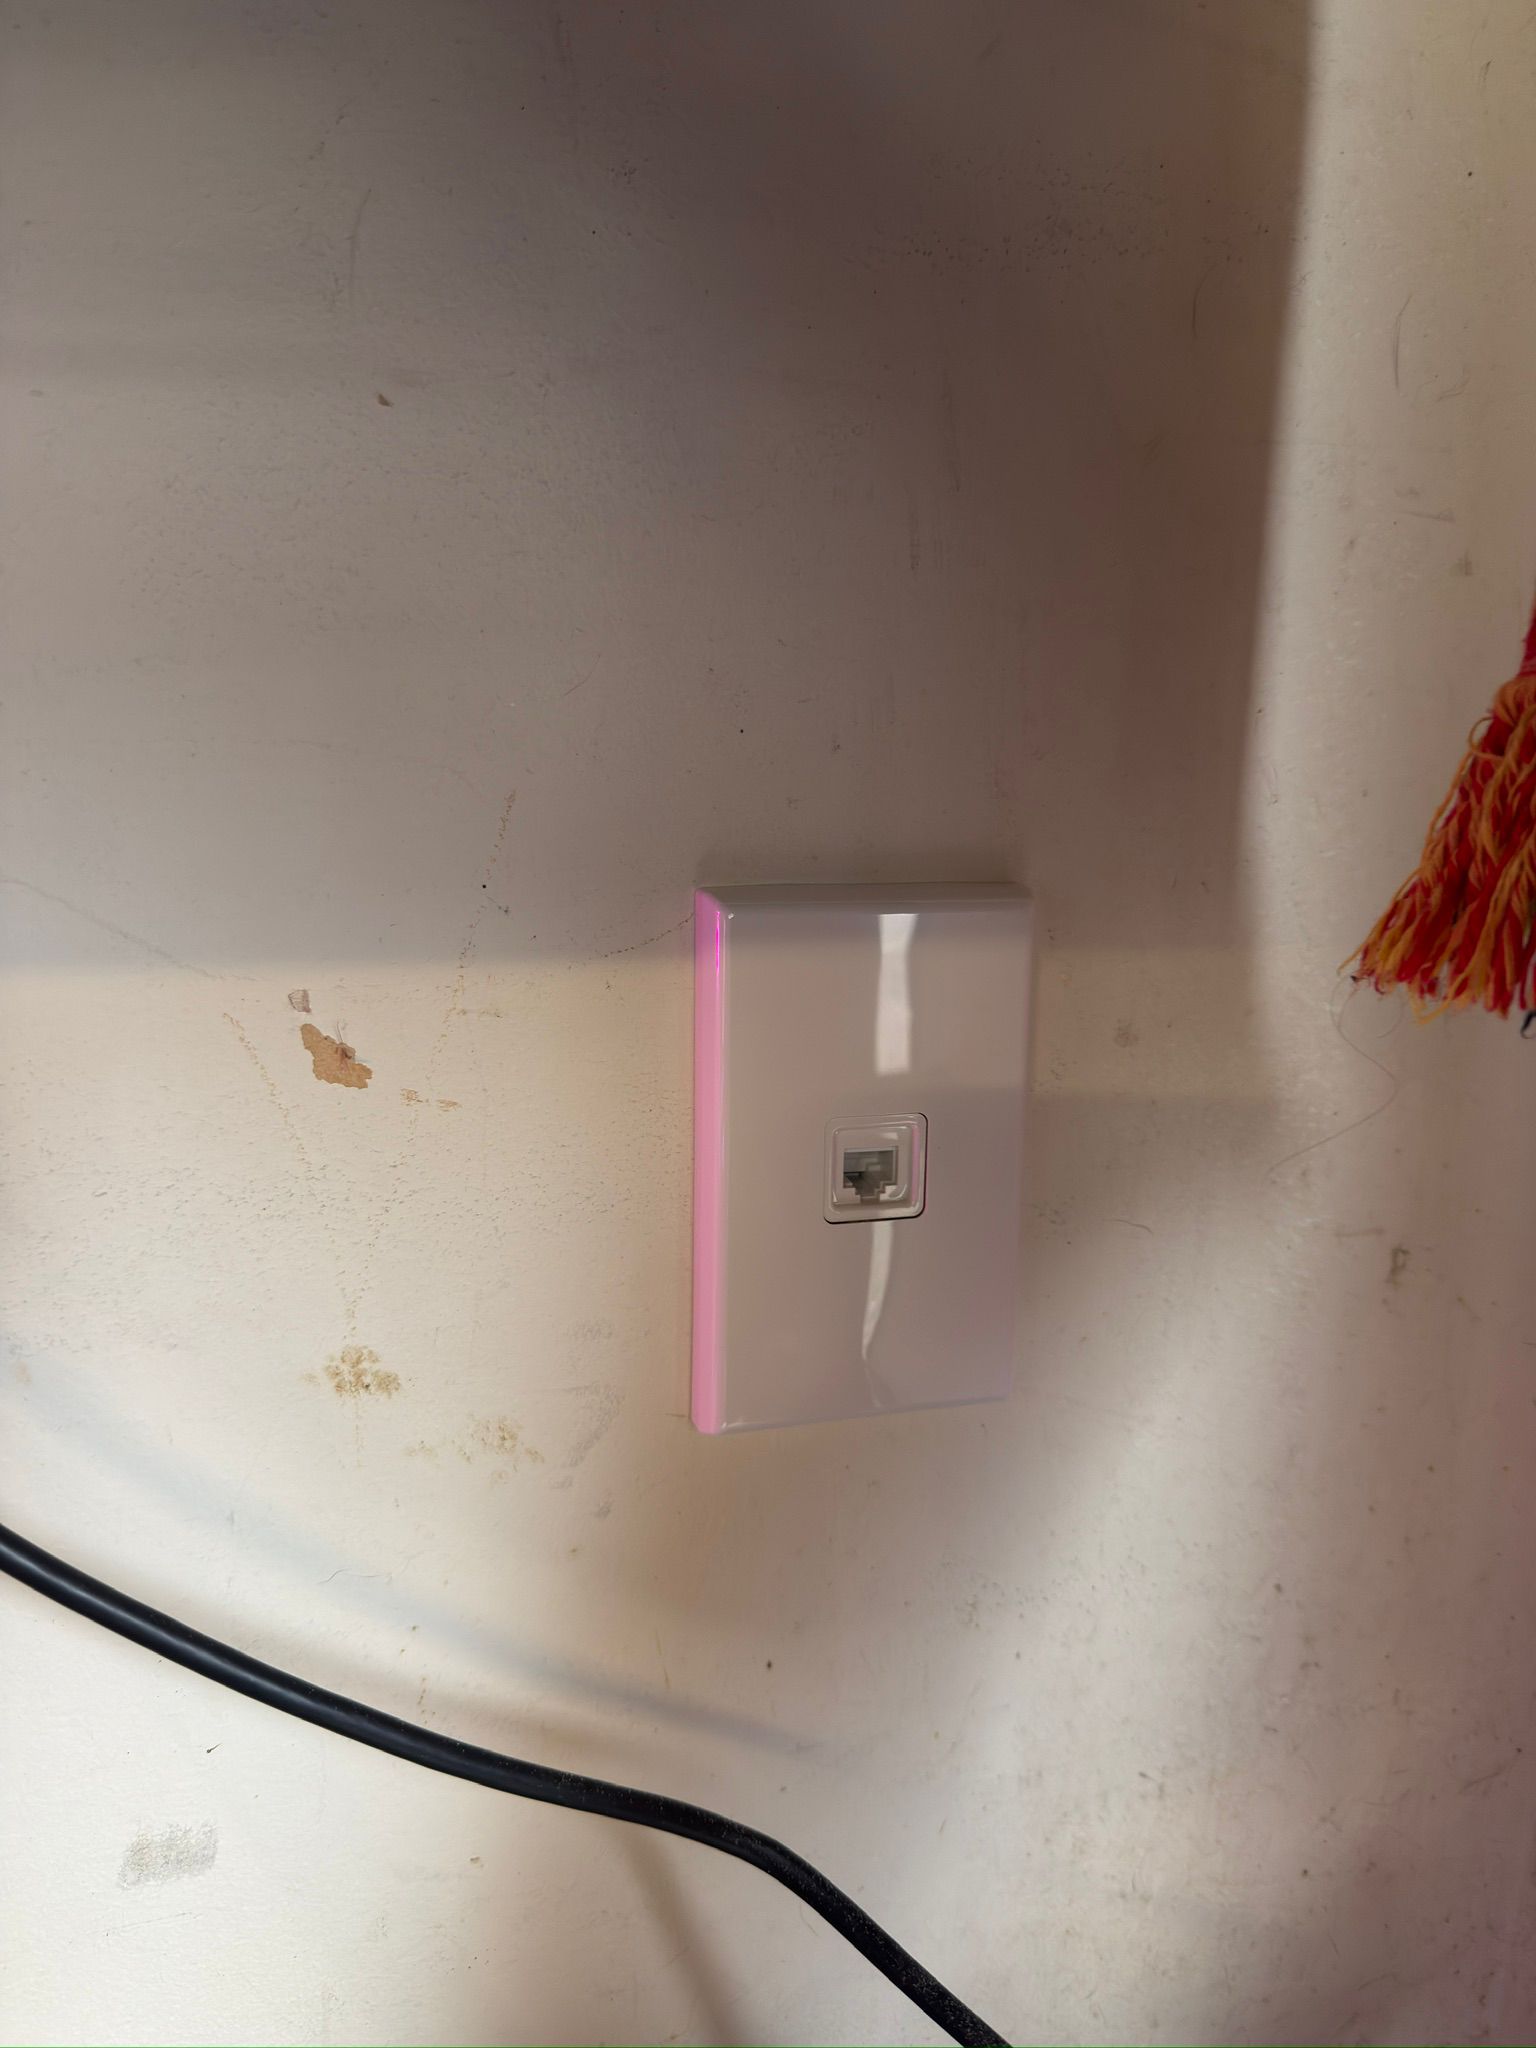
· One wall-mounted jackpoint inside the garage for Tom to plug a small router or access point into.
· Fluke-test the whole run to confirm certified speeds before we left.
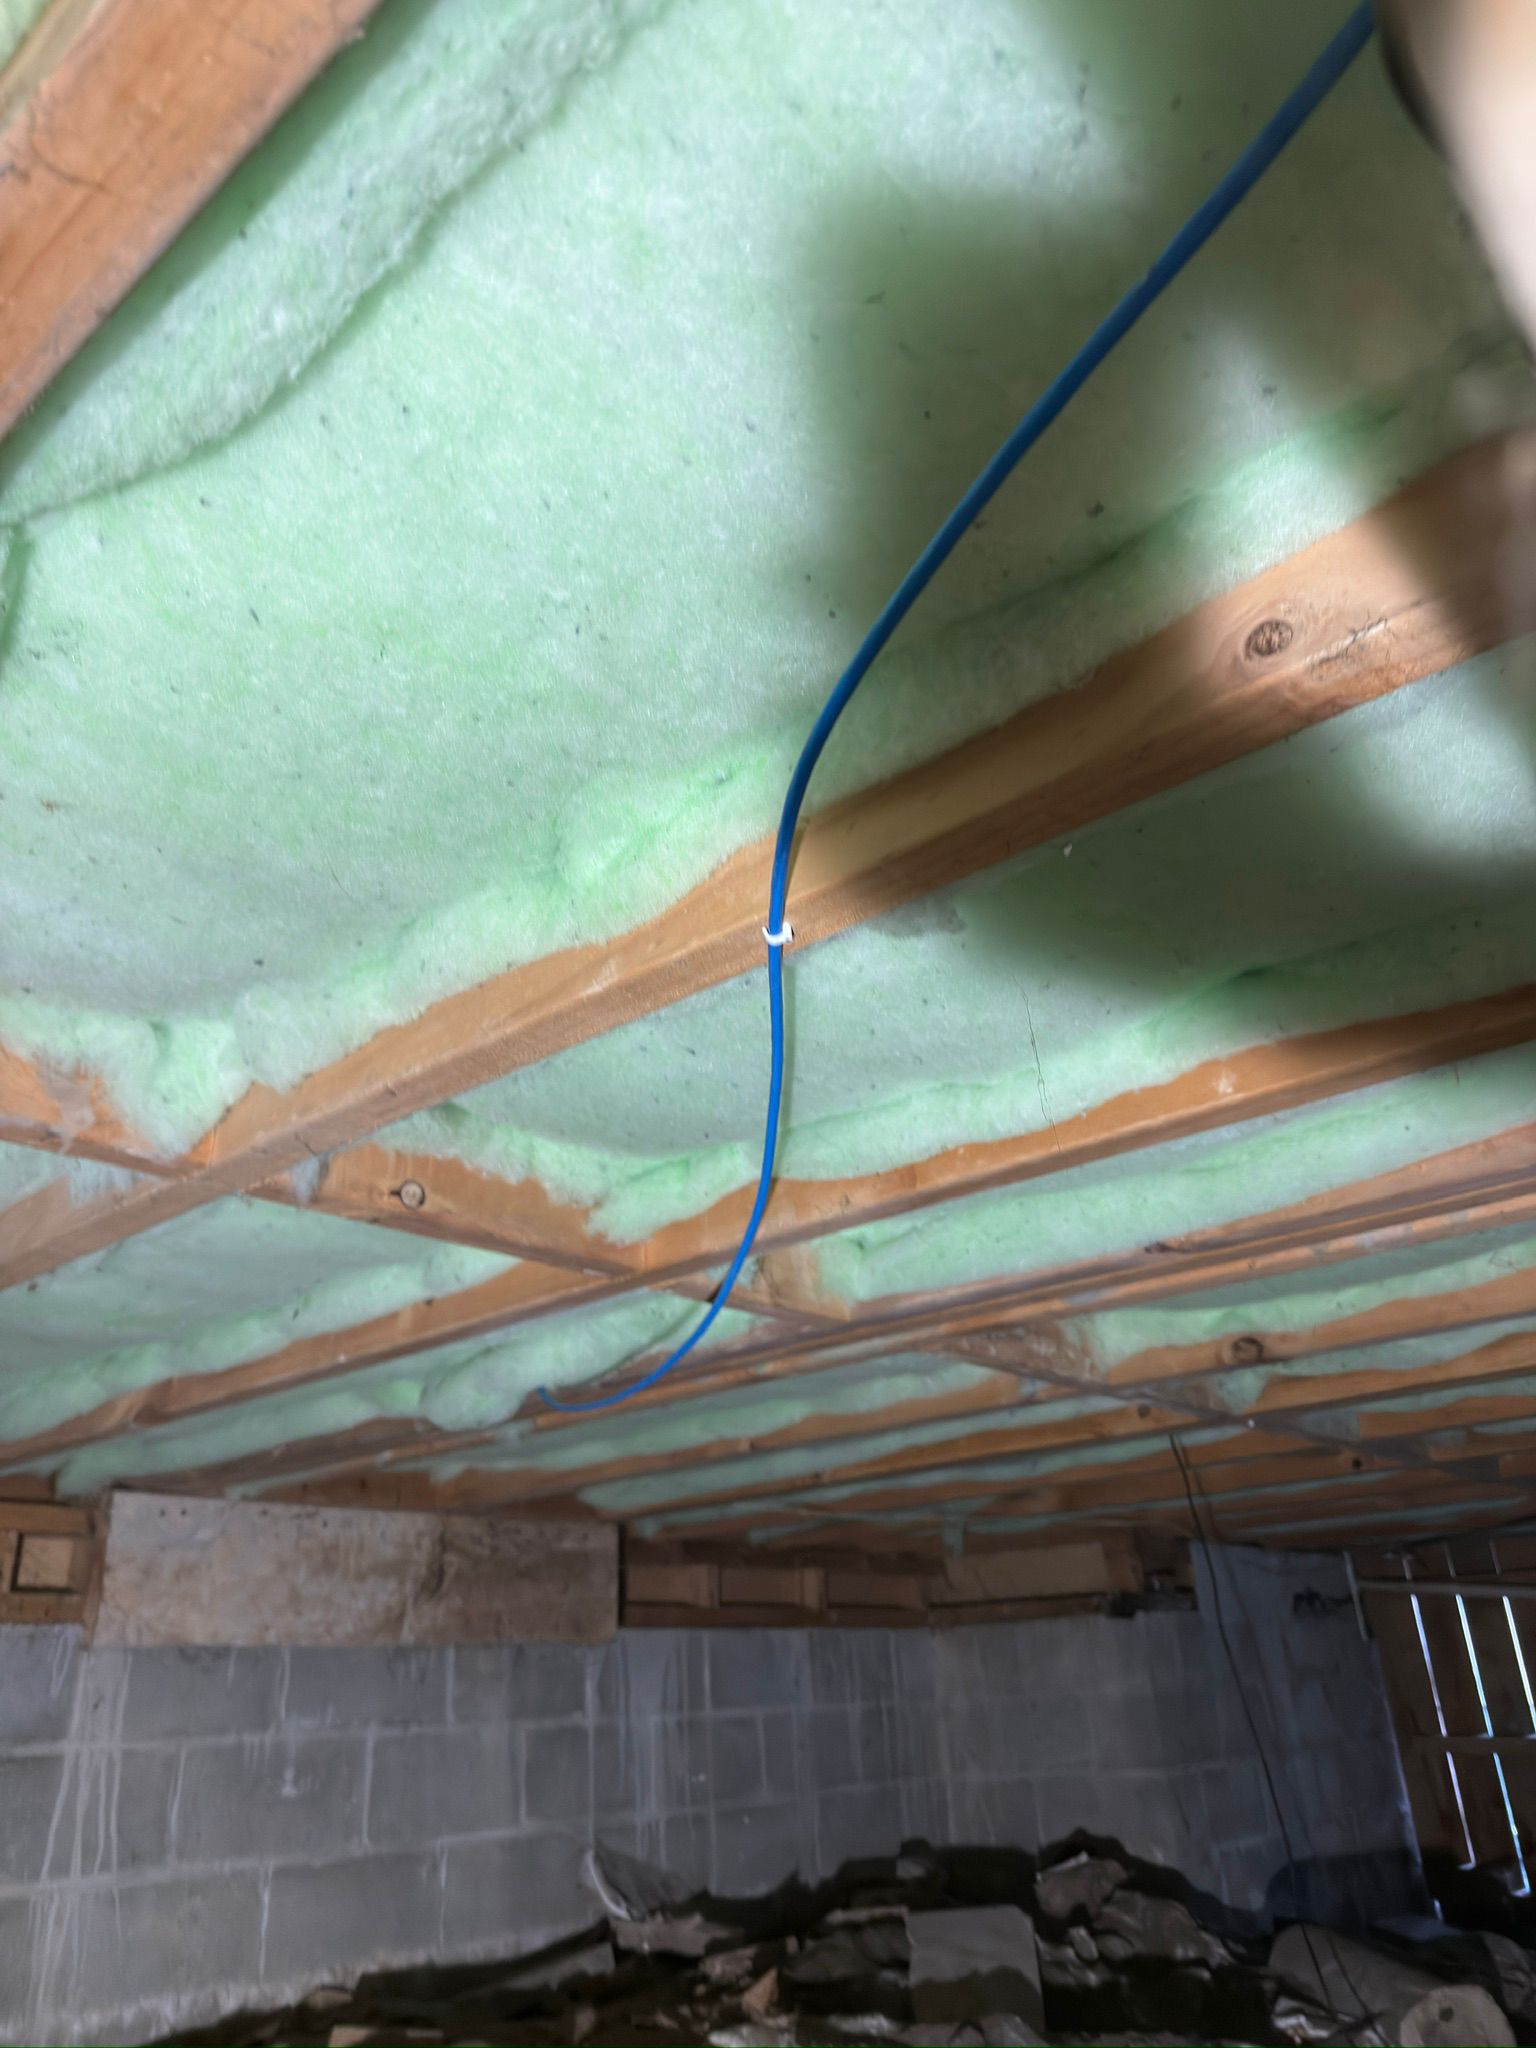
The install: one day, one cable, no surprises
The whole job ran inside a single day. The hardest part of any install like this is the path under the main house — you’re working in a tight subfloor, you have to plan around plumbing and existing electrical, and you can’t pierce anything load-bearing. With the route planned during the site visit, the actual pull went smoothly.
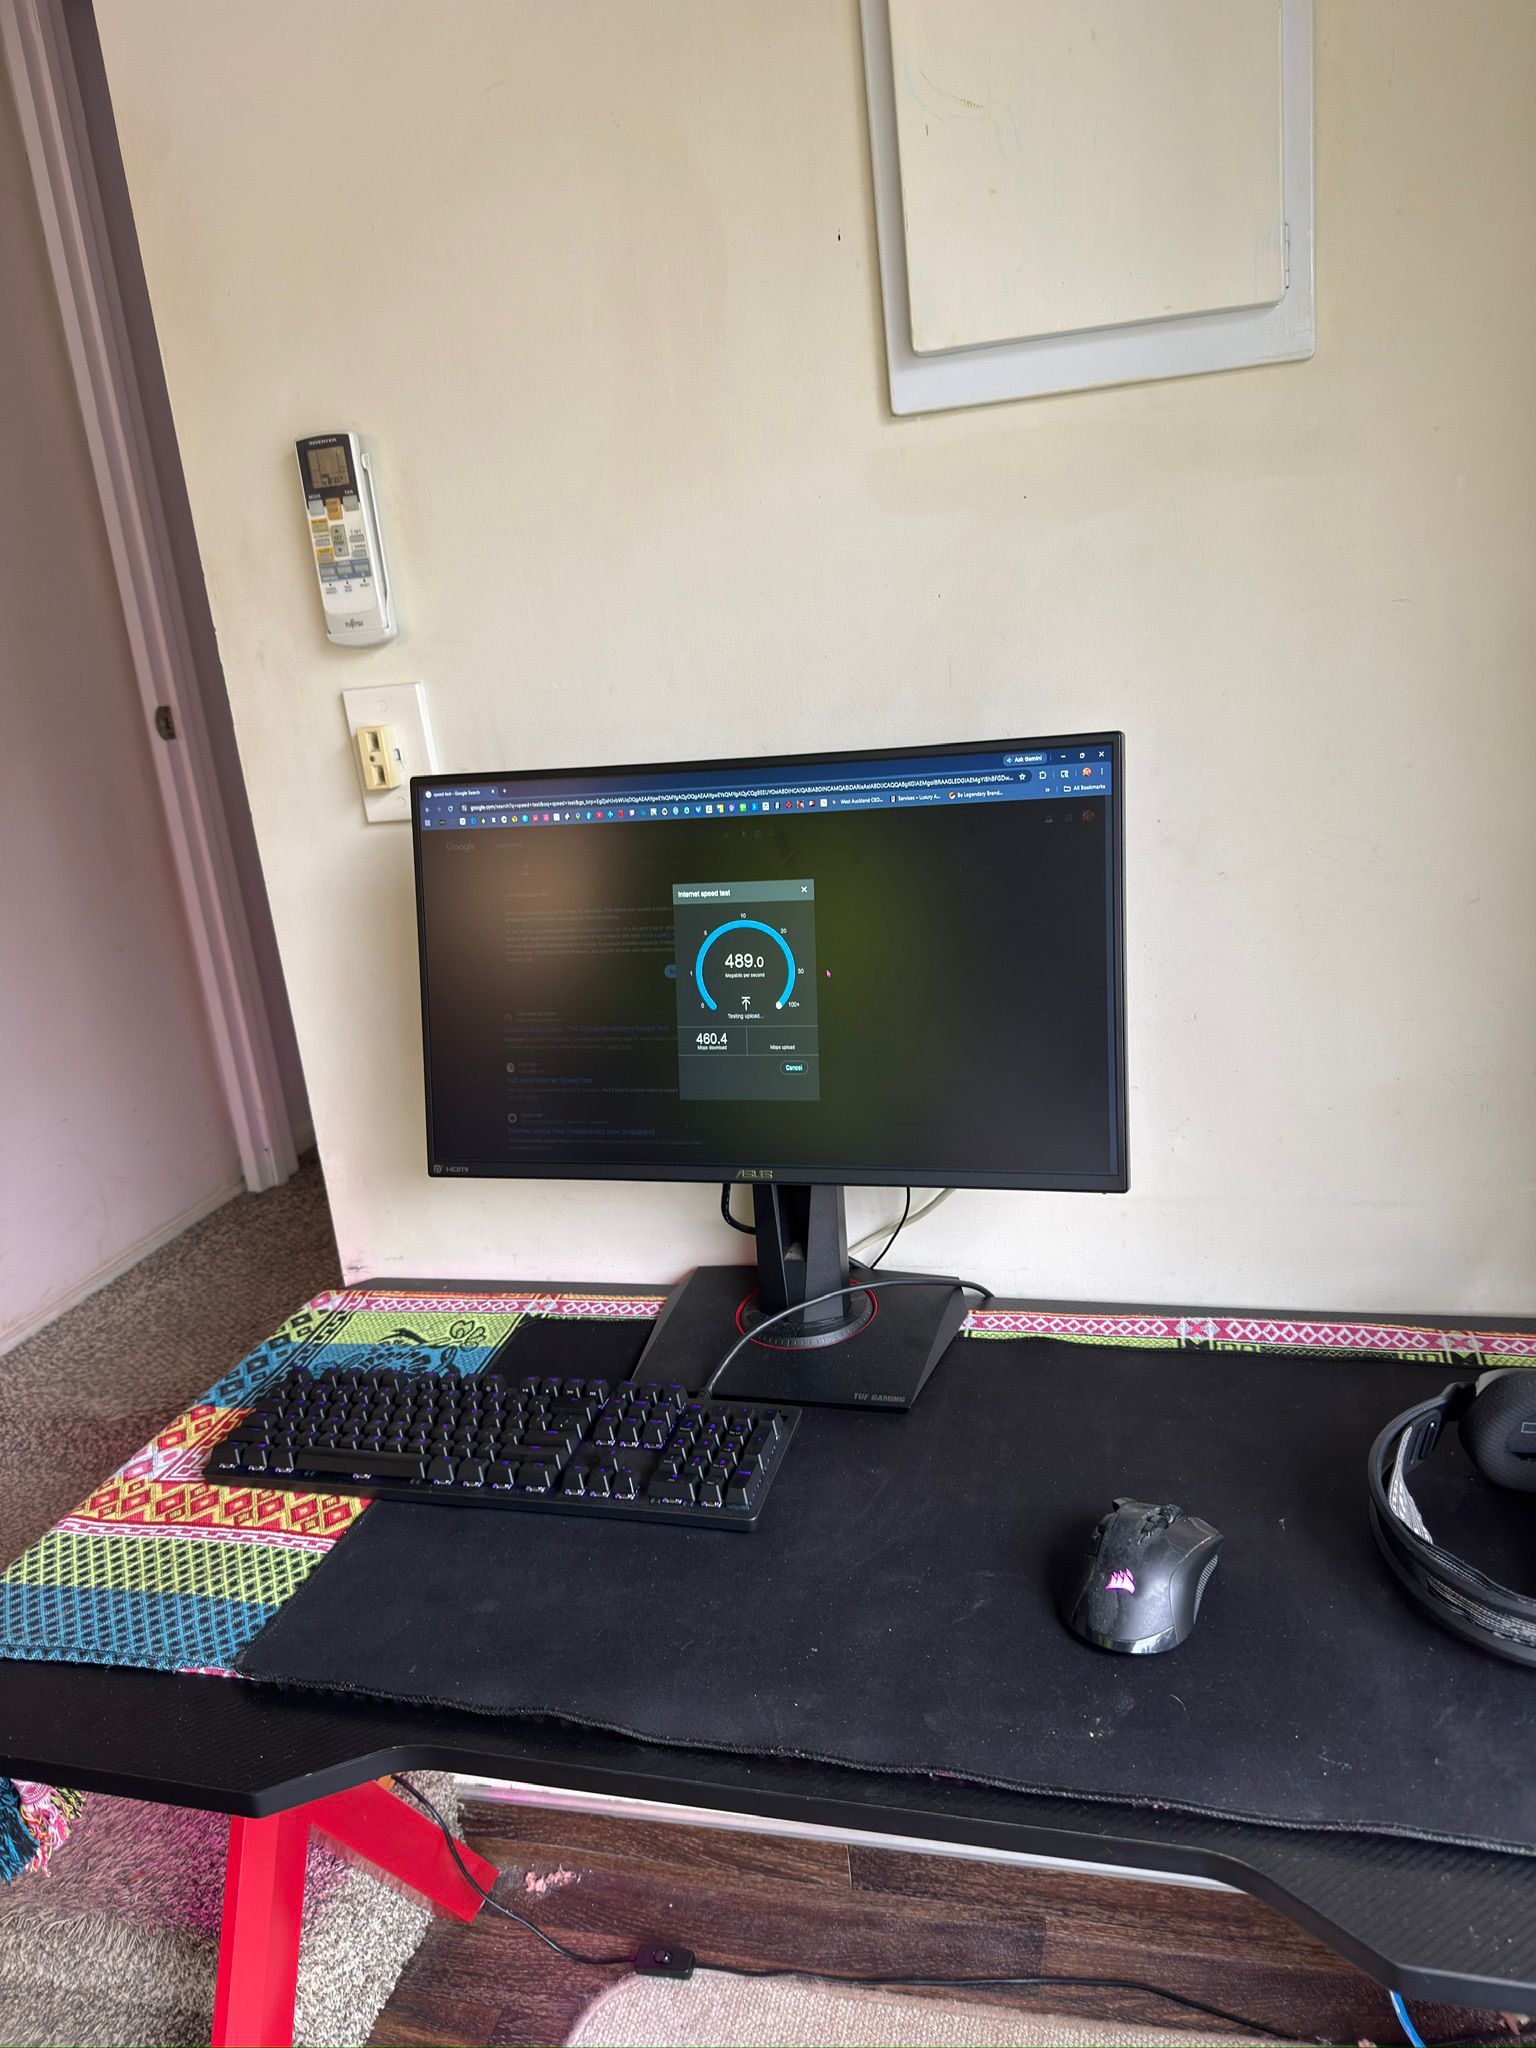
The result: 489 Mbps where there used to be nothing usable
Once the run was terminated and tested, Tom plugged his desktop directly in and ran a speed test. The number speaks for itself.
If you live in a sleepout, granny flat, converted garage, sleep-out studio, or any detached space on the same section as the main house with the modem — this is your problem. WiFi extenders, mesh systems, and powerline adapters all underperform once you’re crossing a building gap or pushing past 20 metres. A single Cat6A or Cat6 run from the main house to your detached space will do more for your internet than any router upgrade you could buy.
What this kind of job typically costs in Auckland
For a detached-space cable run like Tom’s — one Cat6A run from the main house comms point to a single jackpoint in the second building, Fluke-tested, with 3-year workmanship warranty — expect $520–$780 supplied and fitted in 2026.
The variance comes from how accessible the path is between the two buildings (subfloor vs. through-roof vs. direct-bury), how far you’re running, and whether there’s an existing comms point at the main-house end or we have to set one up. We quote in writing within 24 hours of a free site visit so you see the actual number for your property, not a marketing range.
If you’re also wondering about Cat6 vs Cat6A specifically, we wrote a separate breakdown: Cat6 vs Cat6A NZ home — which one in 2026. For full pricing on every job size we do in Auckland, see our Auckland cabling pricing page.
The 5 things to check before any installer quotes a detached-building run
- Site visit before quote — not a phone estimate. The path between two buildings can’t be quoted from photos.
- Cat6A specified for runs over ~30 metres or through high-noise zones. Cat6 is fine for short clean runs but loses margin on long ones.
- Fluke certification report on the day. The only proof you’re getting the speed you paid for.
- Weatherproof gland or proper seal at every wall penetration. Outdoor cable runs that aren’t sealed properly let moisture in and fail in year two.
- 3-year workmanship warranty in writing. Detached runs work harder than indoor ones — the warranty matters.
Free PDF: 8-Question Cabling Quote Comparison
Before you accept any cabling quote — especially anything involving a run between two buildings — run it through these 8 questions. We built this checklist after rewiring 350+ Auckland homes and replacing way too many cowboy installs that worked at handover and failed in year two. Five minutes will tell you whether your quote is honest or whether you’re funding someone’s holiday.
Get the free PDF + a fixed-price quote →What Tom said after
The job wrapped same day. Tom plugged his desktop in, ran the speed test, and the number on his screen was the same number our Fluke tester had certified at the wall. That’s how it’s supposed to work. If you’ve got the same problem — detached space, weak WiFi, fibre at the wrong end of the section — the fix is the same one we did for Tom and it’s probably cheaper than the next router upgrade you were going to buy.
Sleepout, granny flat, or converted garage with bad WiFi?
Same job, same day in Auckland. Free site visit, fixed-price quote in 24 hours. We walk the path with you, plan the cleanest run, and give you the actual number for your property — not a guess.
Book a free site visit →Related guides: why your 1 Gbps fibre delivers only 50 Mbps, Cat6 vs Cat6A which to pick in 2026, Cat6 cabling cost Auckland 2026 breakdown, or our Auckland WiFi installation service.
Take the next step
Read about Cat6 install pricing and the same-day call-out promise.
Before you accept any cabling quote: get the 8-Question Cabling Quote Comparison (free PDF)
The 8 questions Auckland homeowners and business owners ask before saying yes to a cabling quote — so you know what “good” looks like, what cowboys leave out, and don’t overpay. Or skip ahead and book a free on-site inspection from a Fluke-certified Auckland installer.